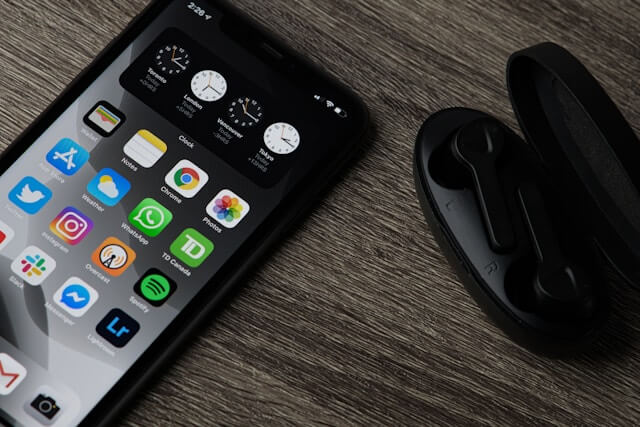
If you’ve ever wondered how to capture what’s happening on your iPhone screen, you’re not alone. Whether you’re creating a tutorial, saving a video call, or showcasing a cool app feature, screen recording on iPhone is an incredibly useful tool. The good news? It’s built right into iOS, so you don’t need any third-party apps.
In this guide, we’ll walk you through everything you need to know about screen recording on your iPhone — from setup to editing and sharing. Plus, we’ll throw in some tips and tricks to make the process smoother. Let’s dive in! 💡
Why You Might Want to Record Your iPhone Screen 🎥
Before we jump into the how-to, let’s quickly cover the why. Here are just a few common reasons people use screen recording:
- Creating tutorials or how-tos
- Capturing gameplay or mobile app demos
- Recording FaceTime or Zoom calls (with audio)
- Saving social media content
- Troubleshooting tech issues with support teams
Now that you know why it’s useful, let’s get into the nitty-gritty of how to do it.
Step 1: Add the Screen Recording Button to Control Center 🛠️
Apple hides the screen recording feature inside the Control Center , so the first thing you need to do is add it there.
- Open the Settings app.
- Tap on Control Center .
- Scroll down and look for Screen Recording .
- Tap the green + button next to it to add it to your Control Center.
✅ Pro Tip: You can rearrange the order of buttons in your Control Center by pressing and holding the three dots next to each item.
Once added, you’re ready to start recording!
Step 2: Start Your First Screen Recording 🚀
Now that the Screen Recording button is in your Control Center, here’s how to use it:
- Swipe down from the top-right corner of your screen to open the Control Center .
- Long-press (or 3D-touch) the Screen Recording button (it looks like a small circle inside a larger circle).
- You’ll see options to toggle:
- Microphone On/Off (to record external audio)
- FaceTime Audio (if you want to capture call audio)
- Show Touches (great for tutorials!)
- When ready, tap Start Recording .
- You’ll get a 3-second countdown — then recording begins!
You can now navigate your phone as usual while the screen records. To stop, simply tap the red status bar at the top of your screen or swipe down and tap the Stop button in the Control Center.
Step 3: Find and Edit Your Recording 🖼️
After you stop recording, your video will be saved automatically in the Photos app under the “Recents” album.
From there, you can:
- Preview your screen recording
- Trim the beginning or end using the edit function
- Share directly via Messages, AirDrop, or social media
💡 Bonus Tip: If you want more advanced editing features like adding text, arrows, or highlights, check out our article on best video editing apps for iPhone — it’s got some great recommendations!
Troubleshooting Common Issues ❓
Even though screen recording is simple, sometimes things go wrong. Here are a few common problems and how to fix them:
🔊 No Audio?
Make sure the microphone toggle was turned on during recording. Also, if you’re trying to capture internal audio (like music), Apple doesn’t allow that by default — but there are workarounds using external devices or apps.
🧠 Storage Full?
iPhone screen recordings can take up a lot of space, especially longer ones. If you’re getting a “storage full” message, try trimming your videos or offloading older clips to iCloud or Google Drive.
🔄 Can’t Find the Screen Recording Button?
Double-check that you added it to your Control Center in Settings. If you’ve done that and still don’t see it, restart your iPhone and try again.
Advanced Tips for Better Screen Recordings 🎯
Want to level up your screen recording game? Try these pro-level tips:
- Use a tripod or stand to keep your phone steady.
- Enable “Do Not Disturb” mode before recording to avoid interruptions.
- Use Show Touches to highlight where you’re tapping — perfect for tutorials.
- Record in landscape mode for better viewing on bigger screens.
- Keep your battery charged — long recordings drain power fast!.
Final Thoughts: Screen Recording Made Easy 🙌
Learning how to screen record on iPhone is a powerful skill that opens up tons of creative and practical possibilities. From quick tutorials to capturing precious moments, the built-in screen recorder is a handy tool that most people don’t fully utilize.
And the best part? It’s totally free and easy to access once you set it up.
So go ahead — give it a try today. You might be surprised at how much easier it makes your digital life!
More iPhone Guides You’ll Love 👇
Looking for more helpful iPhone tips and tricks? Don’t miss these popular articles from AllTechFinder:
Got questions or want to share your screen recording experience? Drop a comment below — we love hearing from our readers! 😊
Author Bio:
This post was written by the team at AllTechFinder.online , your go-to source for easy-to-follow tech guides, app reviews, and smartphone tips. Follow us for more hands-on advice and real-world solutions to everyday tech problems.
